Crochet Your First Hat: Simple Beanie Cap Pattern and Notes
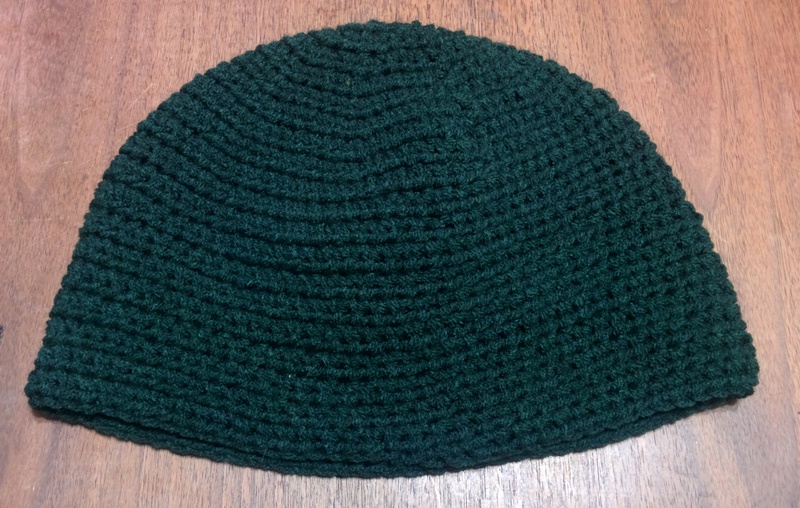
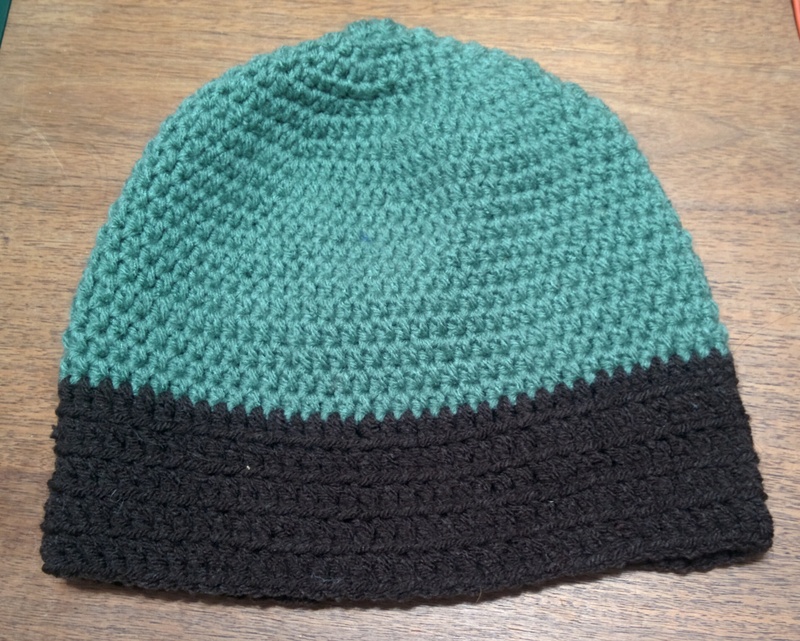
A friend organized a project to crochet hats for the homeless (or other cold people) one winter. She gave us a simple hat pattern to learn and these notes are my attempt to make sense of it and explain to other beginning crocheters, including a schematic diagram. So this is not my original design (it’s so simple that it and similar designs have likely been independently made many times) — though I did make a small modification to remove the seam the original pattern left down the entire length of the hat.
This pattern is also available on Ravelry: Simple Crochet Beanie
Yarn, hook size, sizing
Use a medium/worsted weight yarn. Acrylic yarn is inexpensive and nonallergic, but it does not retain heat when it gets wet and it melts when exposed to open flame which could pose a safety concern. Wool stays warm even when it is wet and does not melt, but it is expensive and some people are allergic to it. All of the hats pictured in these pattern notes are made with 100% acrylic yarn.
As presented below this pattern is for an adult-sized cap of about 20" circumference. The exact hook size gauge is not critical, but aim for 14 hdc per 4". The size can be adjusted both by changing hook size and by changing the number of increase rows performed at the beginning of the pattern. Anything from size H to J (5.0-6.0mm) hooks should work well with worsted yarn.
Pattern
Here is how to make the basic hat, presented as a typically terse crochet pattern. It is explained in detail in the notes below.
| Row 0 |
Chain 1. This first loop will be the center of the hat. |
| Row 1 |
Chain 2 (so you now have 3 chains), make 8 hdc in third chain from hook. Join. (9) |
| Row 2 |
Chain 2, hdc in same stitch, 2 hdc in each remaining stitch. (18) |
| Row 3 |
Chain 2, hdc in same stitch, 1 hdc in next stitch, (2 hdc in next stitch, 1 hdc in next stitch) repeat to end of round. Join. (27) |
| Row 4 |
Chain 2, hdc in same stitch, 1 hdc in next two stitches, (2 hdc in next stitch, 1 hdc in next two stitches) repeat to end of round. Join. (36) |
| Rows 5-7 |
Continue increasing as in Row 4. Each row will have an additional hdc between every increase: chain 2, hdc in same stitch, 1 hdc in next Row#-2 stitches (that’s the row number minus two), (2 hdc in next stitch, 1 hdc in next Row#-2 stitches) repeat to end of round. Join. (72) |
| Row 8 |
Chain 2, hdc in same stitch, 1 hdc in next six stitches, (2 hdc in next stitch, 1 hdc in next six stitches) repeat to end of round. Do not join! (72) |
| Rows 9-end |
Hdc in next stitch (instead of slip), continue around making one hdc in each stitch until hat is of desired length. |
| Finish |
Make last two stitches as sc to reduce the offset caused by the spiral. Cut yarn and pull through last stitch to secure. |
Pattern Schematic Diagram
See below for a detailed textual description of the pattern. But it can also be useful to look at a blueprint diagram to understand the structure of a crochet pattern.
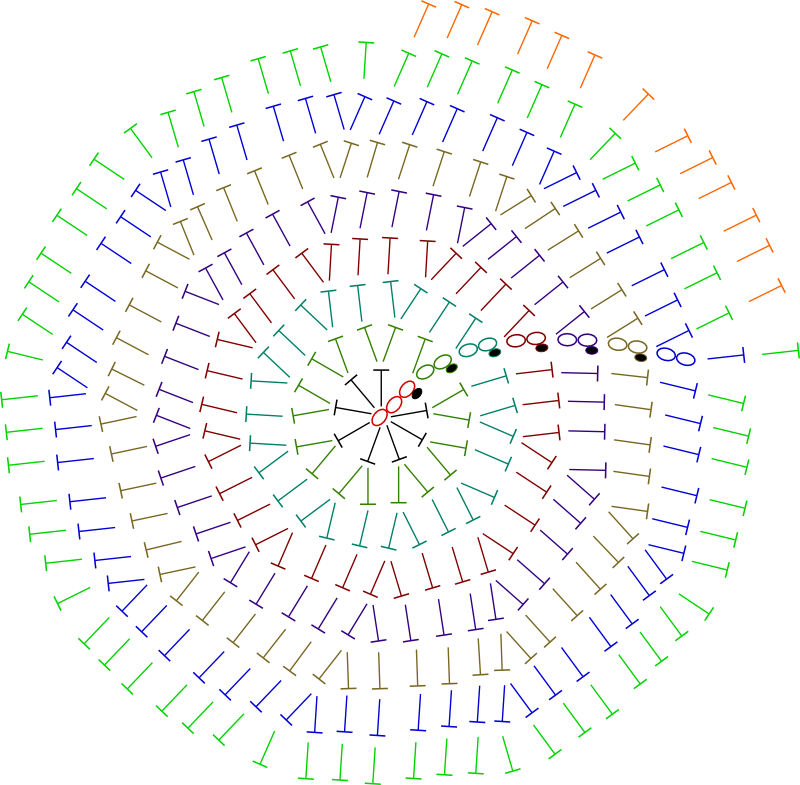
The above image shows a graphic representation of the hat pattern. Each row is a different color to make it easier to follow. Read it like this:
-
The base chain 3 is the red chain in the center. Start there and then read counterclockwise (left-handed crocheters will read counterclockwise, but actually work clockwise).
-
Work around Row 1 (black), making 8 hdc through the first loop of the base chain.
-
When you get back around, make a slip stitch (the solid circle symbol) into the top loop of the base chain.
-
Move up to the next row (green): chain 2. Continue around to the left of that chain making 17 hdc (two into each of the hdc of the previous row), then joining to the starting chain with a slip stitch.
-
… and so on until you get to the last row shown in the schematic (bright green). In this row notice you only make one hdc in each stitch of the previous row. Repeat this row until the hat is the desired length.
The diagram only increases to 63 stitches for a smaller hat. Add one more row of increasing for a larger hat.
By looking at the schematic you can see:
-
How the turning chain 2 of each row acts like an hdc in the pattern
-
Where each increase is made
-
Each increase is made on the first stitch of the increase directly below it
-
-
The seam formed by the slip stitch and turning chain of each row
Notes on Pattern
To the beginner
This is a beginner-friendly pattern (which assumes you know or can look up the basics of chaining, slip stitches, and crochet stitches) except for the first two rounds. It starts off by putting 8 stitches through a single loop which gets quite crowded and can be very difficult to see what’s going on. Having an experienced crocheter on hand to help you get the hat started can save lots of frustration. Using a lightweight and light-colored yarn, a larger hook, and having good lighting will make these first rows easier.
Row 0: Chain 1
The first step is to attach the yarn to the hook with a slipknot. Maybe leave the loop formed by the slipknot a little loose rather than cinching it close to the hook in order to make the first row easier (this loop is where you’ll make the first 8 stitches). Then make one chain stitch, which will be the center of the top of the hat. You’ll make the first 8 stitches through that loop which, when joined, will form a circle. The next rows then work around that circle increasing its diameter for the crown of the hat.
If the tail end of the yarn is getting in your way, you can cut it short.
Alternatives for center loop
The first few rows are the most difficult because it is hard to see what is happening and where the next stitch is. The first row is especially difficult since you can lose track of the center loop before finishing the 8 stitches. Here are two alternative methods of beginning which give a bigger first loop to make all 8 initial stitches into so it is easier to work with.
Chain Loop
First chain five or six. Then slip stitch into the first chain you made to join into a ring. Then continue the pattern from Row 1. The difference is that you will make all 8 stitches in Row 1 into the center of the ring of chains you made instead of trying to do them all through a single chain stitch.
Base Adjustable Ring ("Magic Ring")
Another way to begin with a bigger base ring for making the first 8 stitches in is to make a loop of yarn, make all 8 stitches into it, and then pull to close the loop. The advantage is that it is easier to stitch the 8 first stitches into a large ring, and you can then pull the ring closed so that hat won’t have a big hole at the top.
Good written instructions for the magic ring can be found in this tutorial by Vivid Kreations. Both of these alternative methods are also demonstrated in many YouTube videos, such as this one by B.Hooked Crochet & Knitting:
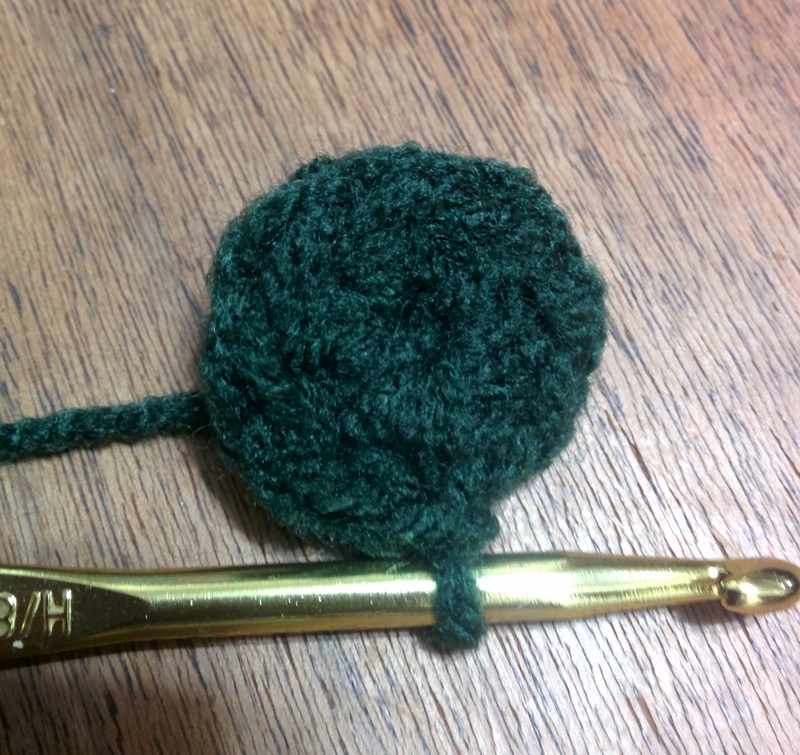
Row 1: Chain 2, make 8 hdc in third chain from hook. Join. (9)
You are going to make 8 hdc stitches into the first chain you made (the one furthest from the hook), which you will then join together into a circle.
The chain 2 you make at the beginning of every row counts as an hdc stitch. Two chains equals the height of one half-double crochet stitch, and you will always chain 2 at the beginning of every row while increasing. So when you complete Row 1 you’ll have 9 stitches on the circumference: 8 hdc + the chain. You should be able to count 9 V-shaped stitches which you will work into on the next row.
Half-Double Crochet (HDC)
The entire hat is made out of half-double crochet stitches which creates a slightly more dense (and warm) fabric than double crochet, but builds up faster than using single crochet:
-
Wrap the yarn over the hook towards your body. This is called yarn over (often abbreviated to yo in patterns). You should now have 2 loops on the hook.
-
Insert hook through the next stitch to be worked. For Row 1 this means to insert the hook through the center loop for all 8 hdc. For other rows, insert beneath both strands that form the V shape of the top of each stitch. (You can instead insert through the two strands to only pick up one of them; this will result in a more flexible fabric.)
-
Yarn over hook.
-
Use the tip of the hook to pull the yarn up through stitch. You should now have 3 loops on the hook.
-
Yarn over hook. You should now have 4 loops on the hook.
-
Pull the loop closest to the tip of the hook through all 3 other loops on hook. That completes the half-double stitch (you should be left with one loop on the hook, and you can start again into the next stitch to be worked).
Joining rows
At the end of each of the first 8 rows, join to the beginning of the row by making a slip stitch into the top loop of the turning chain you started the row with:
-
Insert the hook through the stitch (the top turning chain loop).
-
Yarn over.
-
Pull the yarn up through both the stitch and the loop already on the crochet hook. You should be left with a single loop on the crochet hook ready to chain.
When inserting the hook into the chain stitch, don’t just insert it in the space beneath the chain. That will result in a more-visible seam on the hat. Instead insert it beneath the V of the top loop of the chain like you do every other stitch.
After joining a row, you will begin a new row by chaining 2. The purpose of joining and chaining is to bring the next row to the proper height for a hdc without stretching the stitch. However, the line of join and turning chains is often visible as a seam-like line in the finished work. For that reason, after the increases in the crown of the hat have been completed this pattern no longer calls for joining and chaining between rows. Instead make the first stitch of the new row directly on the first stitch of the previous row. The distortion of an hdc directly spanning rows is minimal, and this allows creating the main part of the hat with no visible join seam.
Row 2: Chain 2, hdc in same stitch, 2 hdc in each remaining stitch. (18)
In this row we make two hdc stitches in each of the 9 stitches from Row 1, which doubles the size of the circle.
Remember, the chain 2 you do at the start of each row counts as an hdc stitch, so only make one actual hdc stitch into the same stitch you chained from (that’s why the pattern reads: chain 2, hdc in ‘same’ stitch)
Don’t worry, it gets easier to see what you’re doing and where to make stitches after this row.
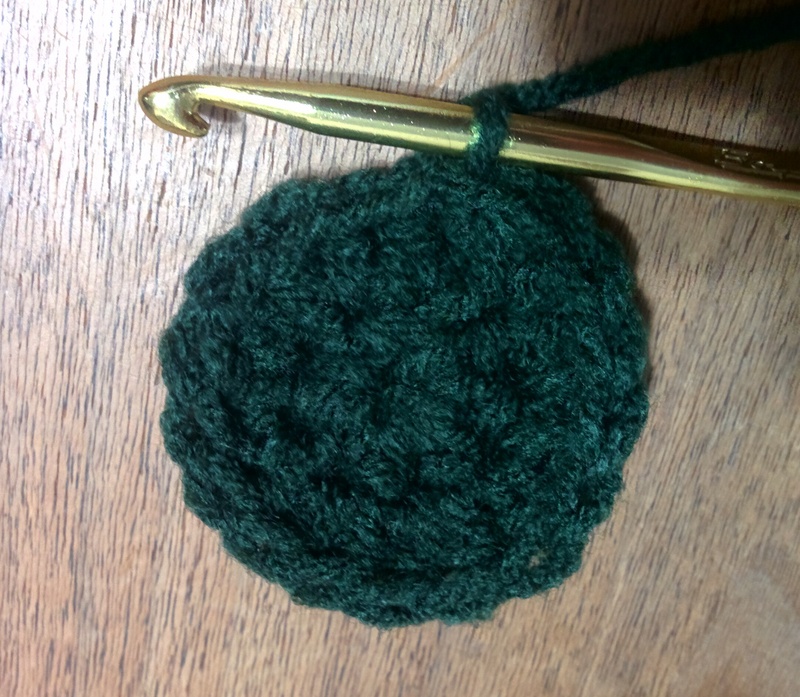
Rows 3-7 Chain 2, hdc in same stitch, 1 hdc in next Row#-2 stitches, (2 hdc in next stitch, 1 hdc in next Row#-2 stitches) repeat to end of round. Join.
These rows uniformly increase the size of the circle. Working two hdc into the same stitch is called an ‘increase’ and effectively adds one stitch to the circumference of the hat. On each of Rows 3-8 you’ll increase 9 times.
Each of Rows 3-8 begins with a chain 2, which counts as an hdc, followed by an hdc in that same stitch. So every row begins with an increase. The remaining 8 increases are spread evenly around the row. On Row 3 you make a single hdc in the next stitch after each increase. On Row 4, you make a single hdc in the next ‘two’ stitches after each increase. And so on. So the number of hdc you make in each stitch around the hat follows this pattern (remember the first 2 consists of the chain + the first hdc):
| Row 3 |
2, 1, 2, 1… 2, 1 |
| Row 4 |
2, 1, 1, 2, 1, 1… 2, 1, 1 |
| Row 5 |
2, 1, 1, 1, 2, 1, 1, 1… 2, 1, 1, 1 |
| Row 6 |
2, 1, 1, 1, 1, 2, 1, 1, 1, 1… 2, 1, 1, 1, 1 |
| Row 7 |
… and so on |
Notice every row ends in a single hdc. That is a good way to test if you counted correctly for that row.
How do you know where to make the next increase if you lose count? Every increase is made exactly above the stitch formed by the increase made in the previous row. It is possible to examine the previous rows to find where to make the next increase. You can also count the stitches you’ve already made.
What if you don’t make the increase in the correct spot? It doesn’t really matter. You may end up with a slightly less round circle, or without exactly 72 stitches on the circumference, but it will probably not be noticeable.
If, however, you consistently make too many or too few increases, you’ll end up with a hat that is too big or too small.
For a smaller hat, stop increasing after row 7 and go on to Row 9. This gives a circumference of 63 stitches instead of 72.
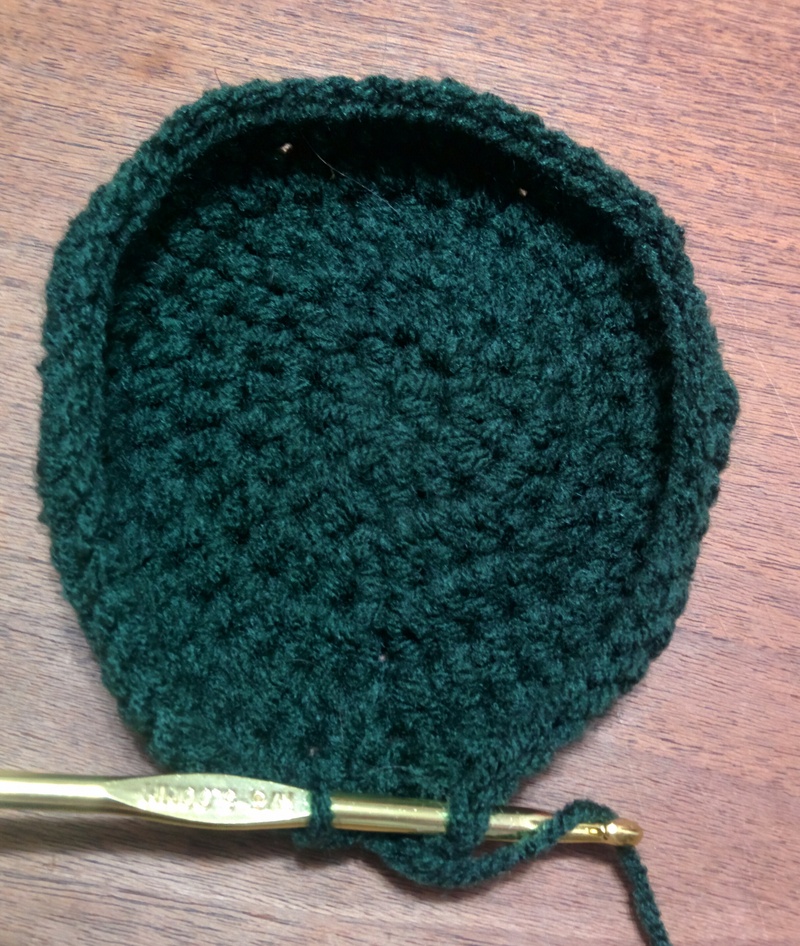
Row 8: Chain 2, hdc in same stitch, 1 hdc in next six stitches, (2 hdc in next stitch, 1 hdc in next six stitches) repeat to end of round. Do not join! (72)
This is the last increase row. When you get to the end of the row you should have 72 stitches on the outside of your circle. Do not join with a slip stitch; instead you will begin the next row with a hdc
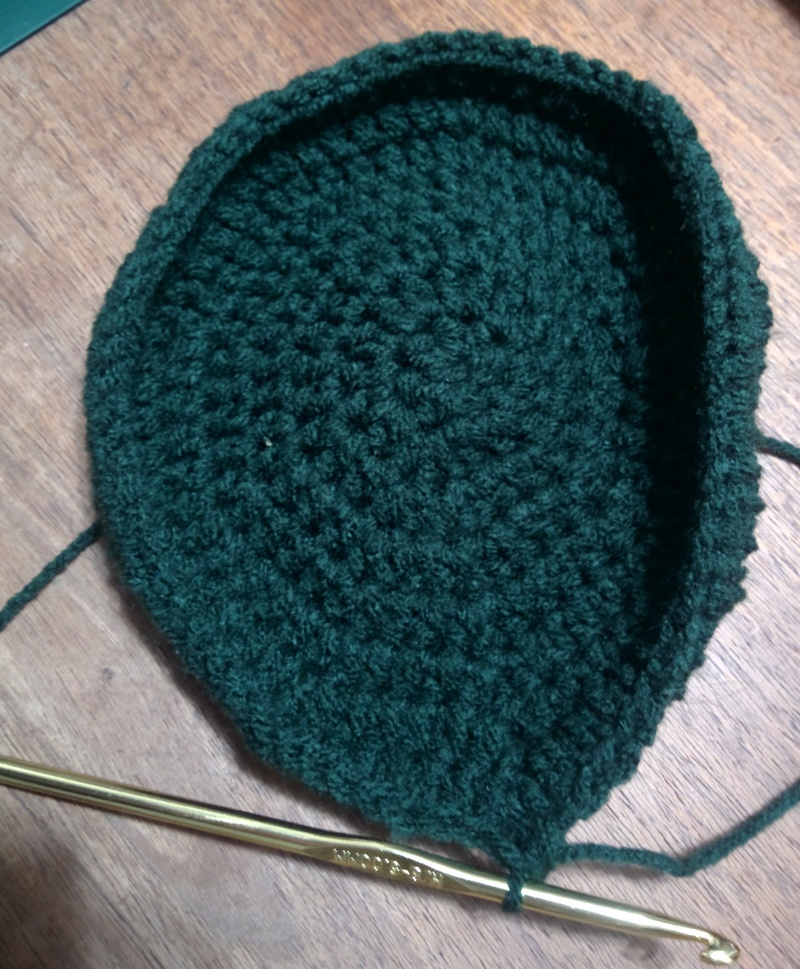
Rows 9-end: Chain 2, hdc in the next and every stitch around. (72)
Now you’re done increasing. Keep crocheting a single hdc in each stitch all the way around each row until the hat has the length that you want. Try it on every now and then to see how it fits.

Finish: Make last two stitches as sc to reduce the offset caused by the spiral. Cut yarn and pull through last stitch to secure.
Once the hat is long enough (I like it to cover my ears), finish off with a couple single crochet stitches which will create a less pronounced step between the last and second-to-last rounds.
Cut the yarn leaving a few inches and pull the end through the last loop on the hook. Pull to secure. To make it more secure, weave the end under a few strands on the inside of the hat and then trim it off.
Variations and Next
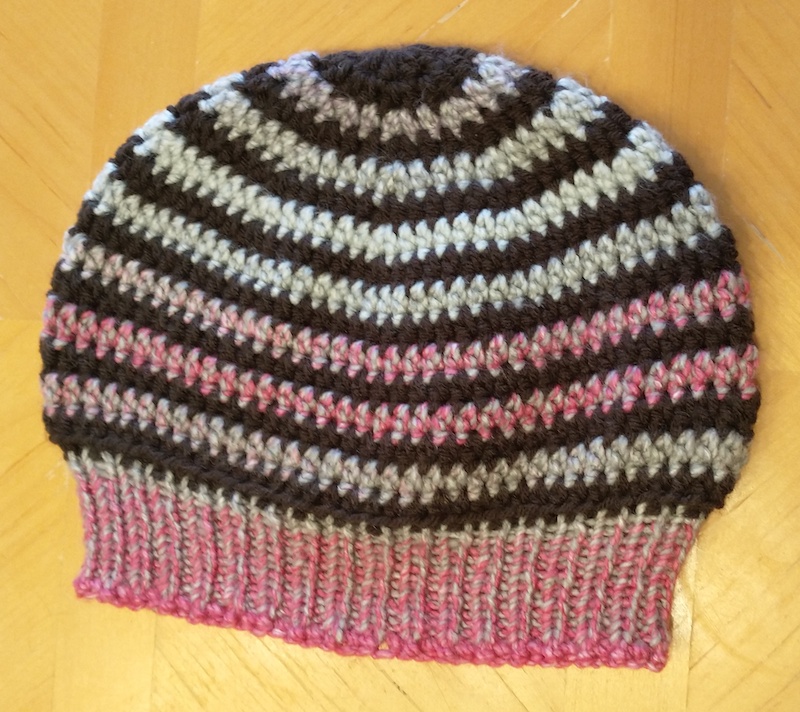
Try using this basic pattern as a platform for experimentation. Do the whole hat in double crochet. Switch yarn colors every few rounds to make a striped hat. Add a single crochet ribbed brim to the hat. Try adding non-increasing rows between the initial increasing rows to give the hat a longer shape.
The Warm Up America Foundation collects donated hand knit and chrochet items to distribute to people who need them.
Similar Patterns
-
Basic Men’s Beanie Free Pattern Workshop by Deja Joy - basically the same pattern; designd for a bigger hook so works up even faster.


